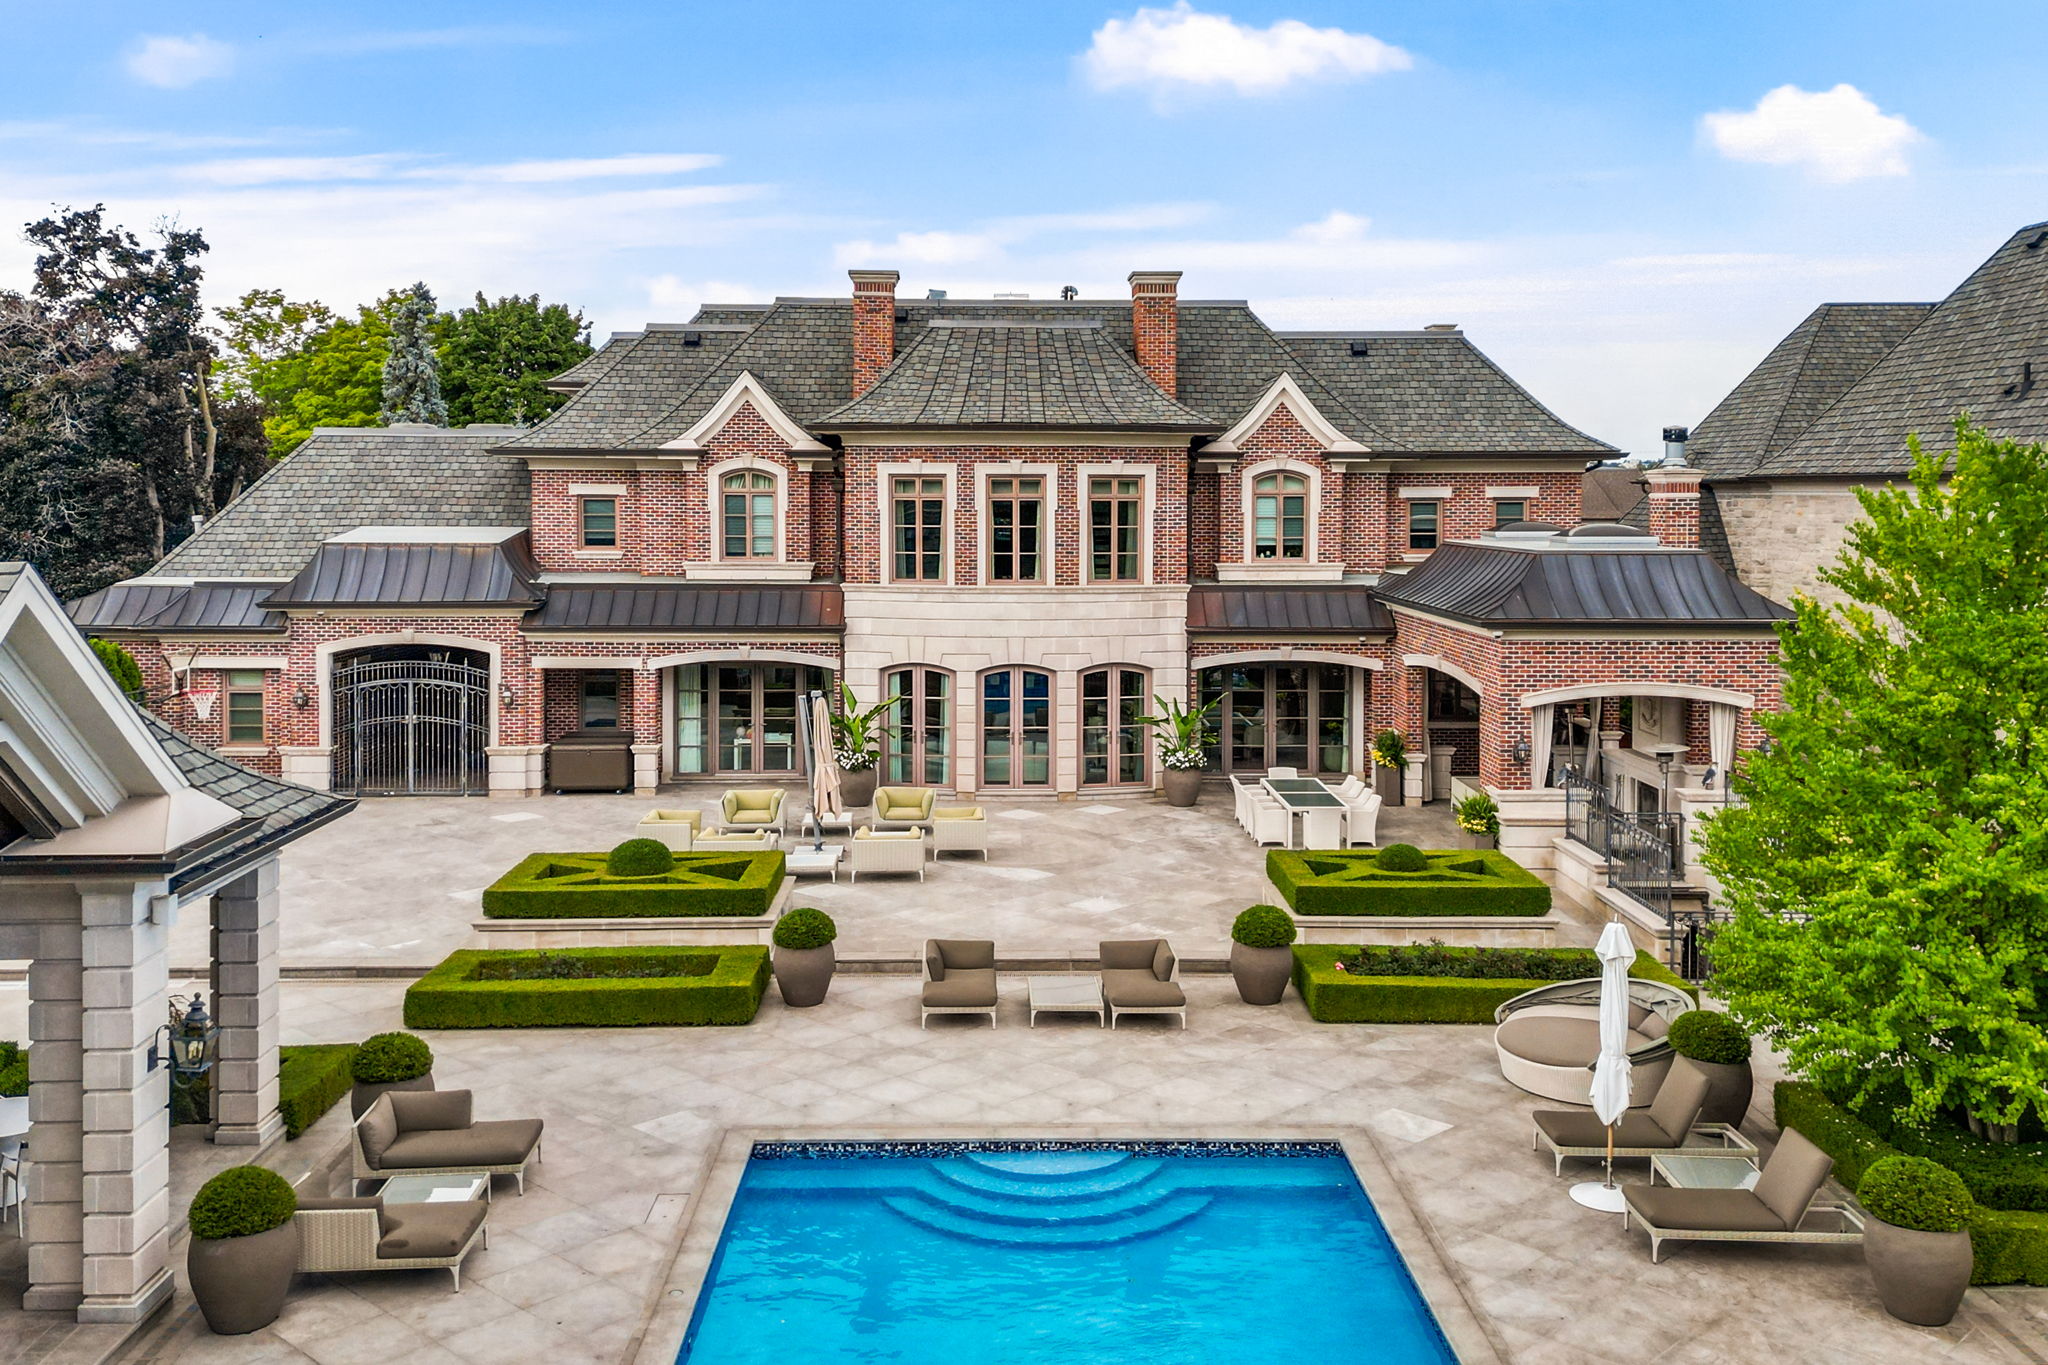
Winter real estate photography in Canada is entirely winnable with the right technique: overexpose snow by +1 to +2 stops so it reads white instead of grey, shoot exteriors at twilight to turn short grey days into warm, inviting hero images, and lean interior-heavy to showcase year-round comfort. A large share of Canadian home sales happen in the colder October-to-March window, so waiting for spring means missing serious, motivated buyers. With professional handling, winter listings photograph beautifully—and often stand out more, because fewer listings and fewer great photos mean quality gets noticed.
At Amazing Photo Video we've photographed properties through brutal winters across the GTA and beyond. Winter isn't an obstacle to work around; it's an opportunity to show homes in a completely different light.
The unique challenges of winter shoots
Several factors make winter photography demanding in Canada:
- Short daylight. Toronto gets under nine hours of daylight in December, compressing shooting windows and pushing golden hour to around 4:00 PM.
- Flat grey skies. Overcast conditions dominate much of the GTA winter, reducing contrast and the "wow" that drives buyer interest.
- Snow hiding features. Heavy accumulation buries landscaping, walkways, patios, and property boundaries.
- Cold on equipment. Below about -10°C, batteries lose 30–50% of capacity, screens lag, and condensation and lens fog become constant threats.
- Safety and access. Ice, snow-covered obstacles, and slick surfaces slow every shoot.
- Buyer psychology. Grey, cold imagery struggles to create the emotional connection that warmer shots do.
Every one of these has a proven solution.
Timing your winter shoots
Timing is everything when daylight is short. The reliable window is 10:00 AM to 2:00 PM, when the sun is highest, interiors get the most light, and temperatures are least hostile to gear. Morning shoots catch frost detail; early afternoon fully illuminates snow and warms equipment.
Winter's real secret weapon is its early golden hour and twilight, arriving around 3:30–4:30 PM in December and January. Twilight exteriors—shot in the 15–30 minute blue-hour window after sunset with every interior and exterior light on—turn a snow-covered property into a glowing, magical image. We often use a twilight shot as the primary listing photo, even in winter.
Because weather is unpredictable, professional winter work means monitoring forecasts 48 hours out, confirming 24 hours ahead, and making a final go/no-go call the morning of. Build a two- to three-day reschedule buffer into your schedule. The best conditions are usually the day after a snowfall—cleared but still pristine, ideally under clear skies.
Camera settings for snow
Snow fools your camera's meter, which tries to render bright white as middle grey and underexposes the scene. The fix is exposure compensation:
| Snow condition |
Exposure compensation |
| Light dusting |
+1 to +1.3 stops |
| Moderate cover |
+1.3 to +1.7 stops |
| Heavy snow / bright sun |
+1.7 to +2 stops |
| Overcast with snow |
+0.7 to +1 stop |
| Twilight snow |
-0.3 to +0.3 stops |
Confirm on the histogram—the peak should shift right, with snow reading white but highlights not fully blown. White balance also matters, since snow reflects ambient colour: roughly 5500–6000K under blue sky, 6000–6500K under overcast, warmer (3200–4000K) to enhance twilight blues. Shoot RAW always—winter's high-contrast scenes need the dynamic range, white-balance latitude, and highlight recovery RAW provides. For interiors with bright snow visible through windows, HDR bracket (3, 5, or 7 exposures) to hold both the room and the view.
Lighting dark winter interiors
Winter's dim, flat light makes artificial lighting essential—used subtly enough to stay invisible.
- Bounce flash off white ceilings at 45–60° for soft, natural overhead fill; dial power down so the flash enhances rather than dominates.
- Continuous LED panels (high CRI, bi-colour) give "what you see is what you get" control for small to large rooms.
- Maximize natural light first: open every curtain and blind, clean the windows, and use white reflectors opposite windows to push light deeper into rooms.
- Balance warm interiors with cool exteriors by gelling flash to match tungsten light or slightly underexposing windows so snow-lit views don't go blue.
Work room by room: fireplaces lit and central, kitchens with every under-cabinet and ceiling light on, bedrooms warm and inviting, basements flooded with as much light as you can bring.
Exterior photography in winter
Strategic snow management is the difference between a clean exterior and an unusable one. Always clear the front walkway, driveway (at least tire tracks), steps, and the area around the sign. Selectively clear a portion of the lawn, key architectural features, and the deck or patio to show size. Keep snow on the roof (uniform and clean), lawn areas, and garden beds. Ideal conditions are light-to-moderate fresh coverage under clear skies; delay for heavy accumulation or dirty, plowed snow.
Don't let snow hide the home's best features—clear around stonework and brick, shoot tight architectural details, and use elevation or a drone to shoot over accumulation. Winter aerials are often superior to summer ones: bare trees reveal the property, and snow highlights lot lines and neighbourhood layout. Fly conservatively in the cold—warm batteries, shorter flights, and land at 30% rather than 20%.
Finally, turn winter into an advantage by showcasing cold-weather features: a lit fireplace, a heated driveway melting snow, icicle-free eaves (proof of good insulation), an oversized garage, and a functional mudroom. Reframe the season as evidence the home is built for Canadian winters.
Interior photography in winter
Winter interiors should feel warm to counter the cold world outside. Stage for coziness—textured throws, plush rugs, warm-toned accents, flameless candles—and photograph the fireplace as a focal point. Use warmer white balance in living rooms and bedrooms (roughly 3500–4200K) and cleaner tones in kitchens and bathrooms. Build depth with layered lighting: ambient overhead, task lighting, and accent lamps visible in frame. When grey sky shows through windows, expose for a bright, warm interior so the contrast makes the room feel more inviting, and compose to minimize the amount of flat sky in the shot.
Protecting equipment in the cold
Canadian winters are hard on gear:
- Batteries: carry double your normal count, keep spares warm against your body, and rotate cold cells back to a warm pocket to recover charge.
- Condensation is the number one cause of winter camera damage. Seal the camera in a bag before moving from cold to warm and let it reach room temperature (30–45 minutes) before opening. Silica gel packets help.
- Lens fog: use a lens hood, keep a warm dry cloth handy for exterior fog, and let internal fog dissipate rather than wiping it.
- Tripods: spiked feet bite into ice and packed snow; hang your bag from the centre column for stability, and secure the camera with a strap.
Winter is harder on gear, so redundancy—backup camera, extra cards, spare flash—is standard practice.
Post-processing winter photos
Editing carries winter images the last mile:
- Colour-correct snow to neutral white, removing blue or grey casts while keeping warm tones acceptable in shadows.
- Dehaze (a modest +10 to +40) is remarkably effective at cutting through grey winter flatness and restoring contrast and saturation.
- Boost contrast and clarity moderately to add the dimension flat light removes—more on architecture, less on snow and sky to avoid harsh texture.
- Selectively brighten dark corners, basements, and rooms away from windows with local adjustments, keeping transitions natural.
- Sky replacement can rescue a featureless grey sky—use a season- and time-appropriate sky, blend it realistically, and follow your board's disclosure rules.
Virtual staging is another powerful winter tool: at $39.99–$79.99 per image, it can furnish vacant rooms or show summer potential (clearly disclosed), overcoming winter's visual limitations for a fraction of physical staging cost.
Marketing winter listings
Smart marketing reframes winter as a feature. Winter reveals quality: icicle-free eaves and clear windows prove insulation and glazing; even roof-snow melt shows no insulation gaps. It also strips away summer's cosmetic cover to show a neighbourhood's authentic, well-maintained character. And with fewer listings competing, exceptional photography stands out even more—making professional media a higher-ROI investment in winter than in summer.
Sequence for emotional impact: lead with a twilight exterior or your best interior, run an interior-heavy set (fireplace, kitchen, primary suite) to build warmth and connection, then place exteriors and drone context later. A standard listing runs 25–30 photos, luxury 35–45, weighted toward interiors in winter. Supplement with a 3D tour so serious winter buyers can explore thoroughly without repeated cold-weather visits.
What professional winter photography costs
At Amazing Photo Video, pricing is consistent year-round with no winter surcharge (CAD +HST, Toronto & GTA):
- HDR real estate photography: from $249.99
- Cinematic videography: from $299.99; video + drone from $399.99
- Matterport 3D tours: from $249.99
- Drone photos: $299.99; drone video: $399.99
- Virtual staging: $39.99–$79.99 per image
- Floor plans: from $179.99
- Bundled packages: WALK from $299.99, RUN from $499.99, FLY from $699.99, WHOLE 9 from $999.99, MODERN from $1,299.99
Twilight shooting and flexible weather rescheduling are built into how we work. See everything on our transparent pricing page.
Conclusion: winter is opportunity, not obstacle
Summer is forgiving; winter reveals quality. Energy-efficient construction shows its value, neighbourhood character appears authentic, and serious buyers separate themselves from casual browsers. The techniques here—strategic timing, snow exposure, twilight exteriors, cold-weather gear management, and thoughtful editing—turn winter from a limitation into a competitive advantage. While competitors wait for spring, you can capture buyers who are searching right now. Book a shoot and make your winter listing stand out.
FAQ
Should I wait until spring to photograph my listing?
No—list and photograph now. A large share of Canadian home sales happen in the October-to-March window, and waiting means missing serious winter buyers while facing more competition in spring. Professional winter photography—twilight exteriors and interior focus—overcomes the season, and HDR photography from $249.99 costs far less than months of carrying costs.
How do I make snow look good in photos?
Shoot within 24–48 hours of a fresh snowfall before it gets dirty, overexpose by +1 to +2 stops so snow reads white instead of grey, clear walkways and driveways strategically, and shoot during golden hour or twilight for warm light and blue-hour contrast. Correcting the blue cast in post finishes the look.
Can you remove snow in post-processing?
Yes, but it ranges from quick clone cleanup of small patches to labour-intensive full winter-to-summer conversions. Strategic snow management before the shoot is almost always more effective and authentic; when digital removal is used, keep it subtle, honest, and compliant with your board's disclosure rules. Virtual staging to show summer potential ($39.99–$79.99/image) is a cleaner alternative.
Does Amazing Photo Video charge more for winter shoots?
No—our pricing is consistent year-round with no winter surcharge, and flexible weather rescheduling is included at no extra charge. HDR photography starts at $249.99, cinematic video at $299.99, and Matterport 3D tours at $249.99 (CAD +HST, Toronto & GTA), the same in January as in July.
 Michael Chen